Contents +
How to configure WPForms contact forms: Which should I choose, WPForms or Contact Form 7?
Source: 创同盟
Date: 2026-10-29
Views: 22
Article 9 solved the problem of sending emails from the website—after installing WP Mail SMTP, notification emails submitted through forms can actually be sent to your inbox. However, that article only solved the problem of " sending " , but it didn't solve the problem of how to configure the " form itself with " .
I've seen too many factory websites where the contact page uses only a default form from a plugin: name, email, subject, and message. After a customer fills it out and submits, you don't receive a notification, or you receive one but don't know which product page they clicked from. Forms aren't just a matter of installing a plugin; you have to manually adjust the field settings, the redirection after submission, and the number of addresses for the notification email.
This article describes the complete process of configuring a contact form when I built my website, using two of the most popular plugins: WPForms and Contact Form 7.
1. Why can't contact forms be created simply by installing a plugin?
WordPress doesn't have a built-in contact form feature; you need to install a plugin. After installing the plugin, it will give you a shortcode. Paste this shortcode into the contact page, and a form will be displayed on the front end.
However, default forms typically have three problems:
First, there are too many fields. The default setting provides five fields: name, email, phone number, subject, and message content. Customers are discouraged by so many fields. B2B buyers don't have that much patience; they'll fill in three fields, but they'll close the page after five.
Second, the notification email only has one recipient. It's sent to the website administrator after the form is submitted, but your company might have three or four sales staff who want to see the inquiries; you can't have everyone checking the backend.
Third, there's no automatic reply from the customer. After submitting, the customer sees only a line: " Thank you for your message " , and then it disappears without a trace. They don't know if you received it or when you'll reply, and they just move on to the next client.
You need to manually configure all three of these things in the plugin settings.
II. How to choose between the two mainstream plugins
Searching for " contact form " in the WordPress plugin repository, the top two results are WPForms and Contact Form 7. I've used both, and they're quite different.
WPForms: A drag-and-drop editor with a visual interface for dragging fields, eliminating the need for coding. The user-friendly interface makes it easy for beginners to avoid errors. The free version is called WPForms Lite, which provides basic functionality. However, advanced features (conditional logic, multipart forms, payments) require the Pro version, which costs over $100 per year.
Contact Form 7: A well-established plugin, completely free, and with lightweight code. However, it's not drag-and-drop; you have to fill in English tags and write your own HTML structure, which isn't very beginner-friendly. Its advantages are flexibility—you can modify it however you like—and its widespread global user base means you can easily find answers to problems.
My suggestion: If you don't want the hassle and want to save time, use WPForms Lite; if you want complete control over the form structure and don't want to spend money, use Contact Form 7. The two sets of forms are functionally identical; the difference lies in how they are used.
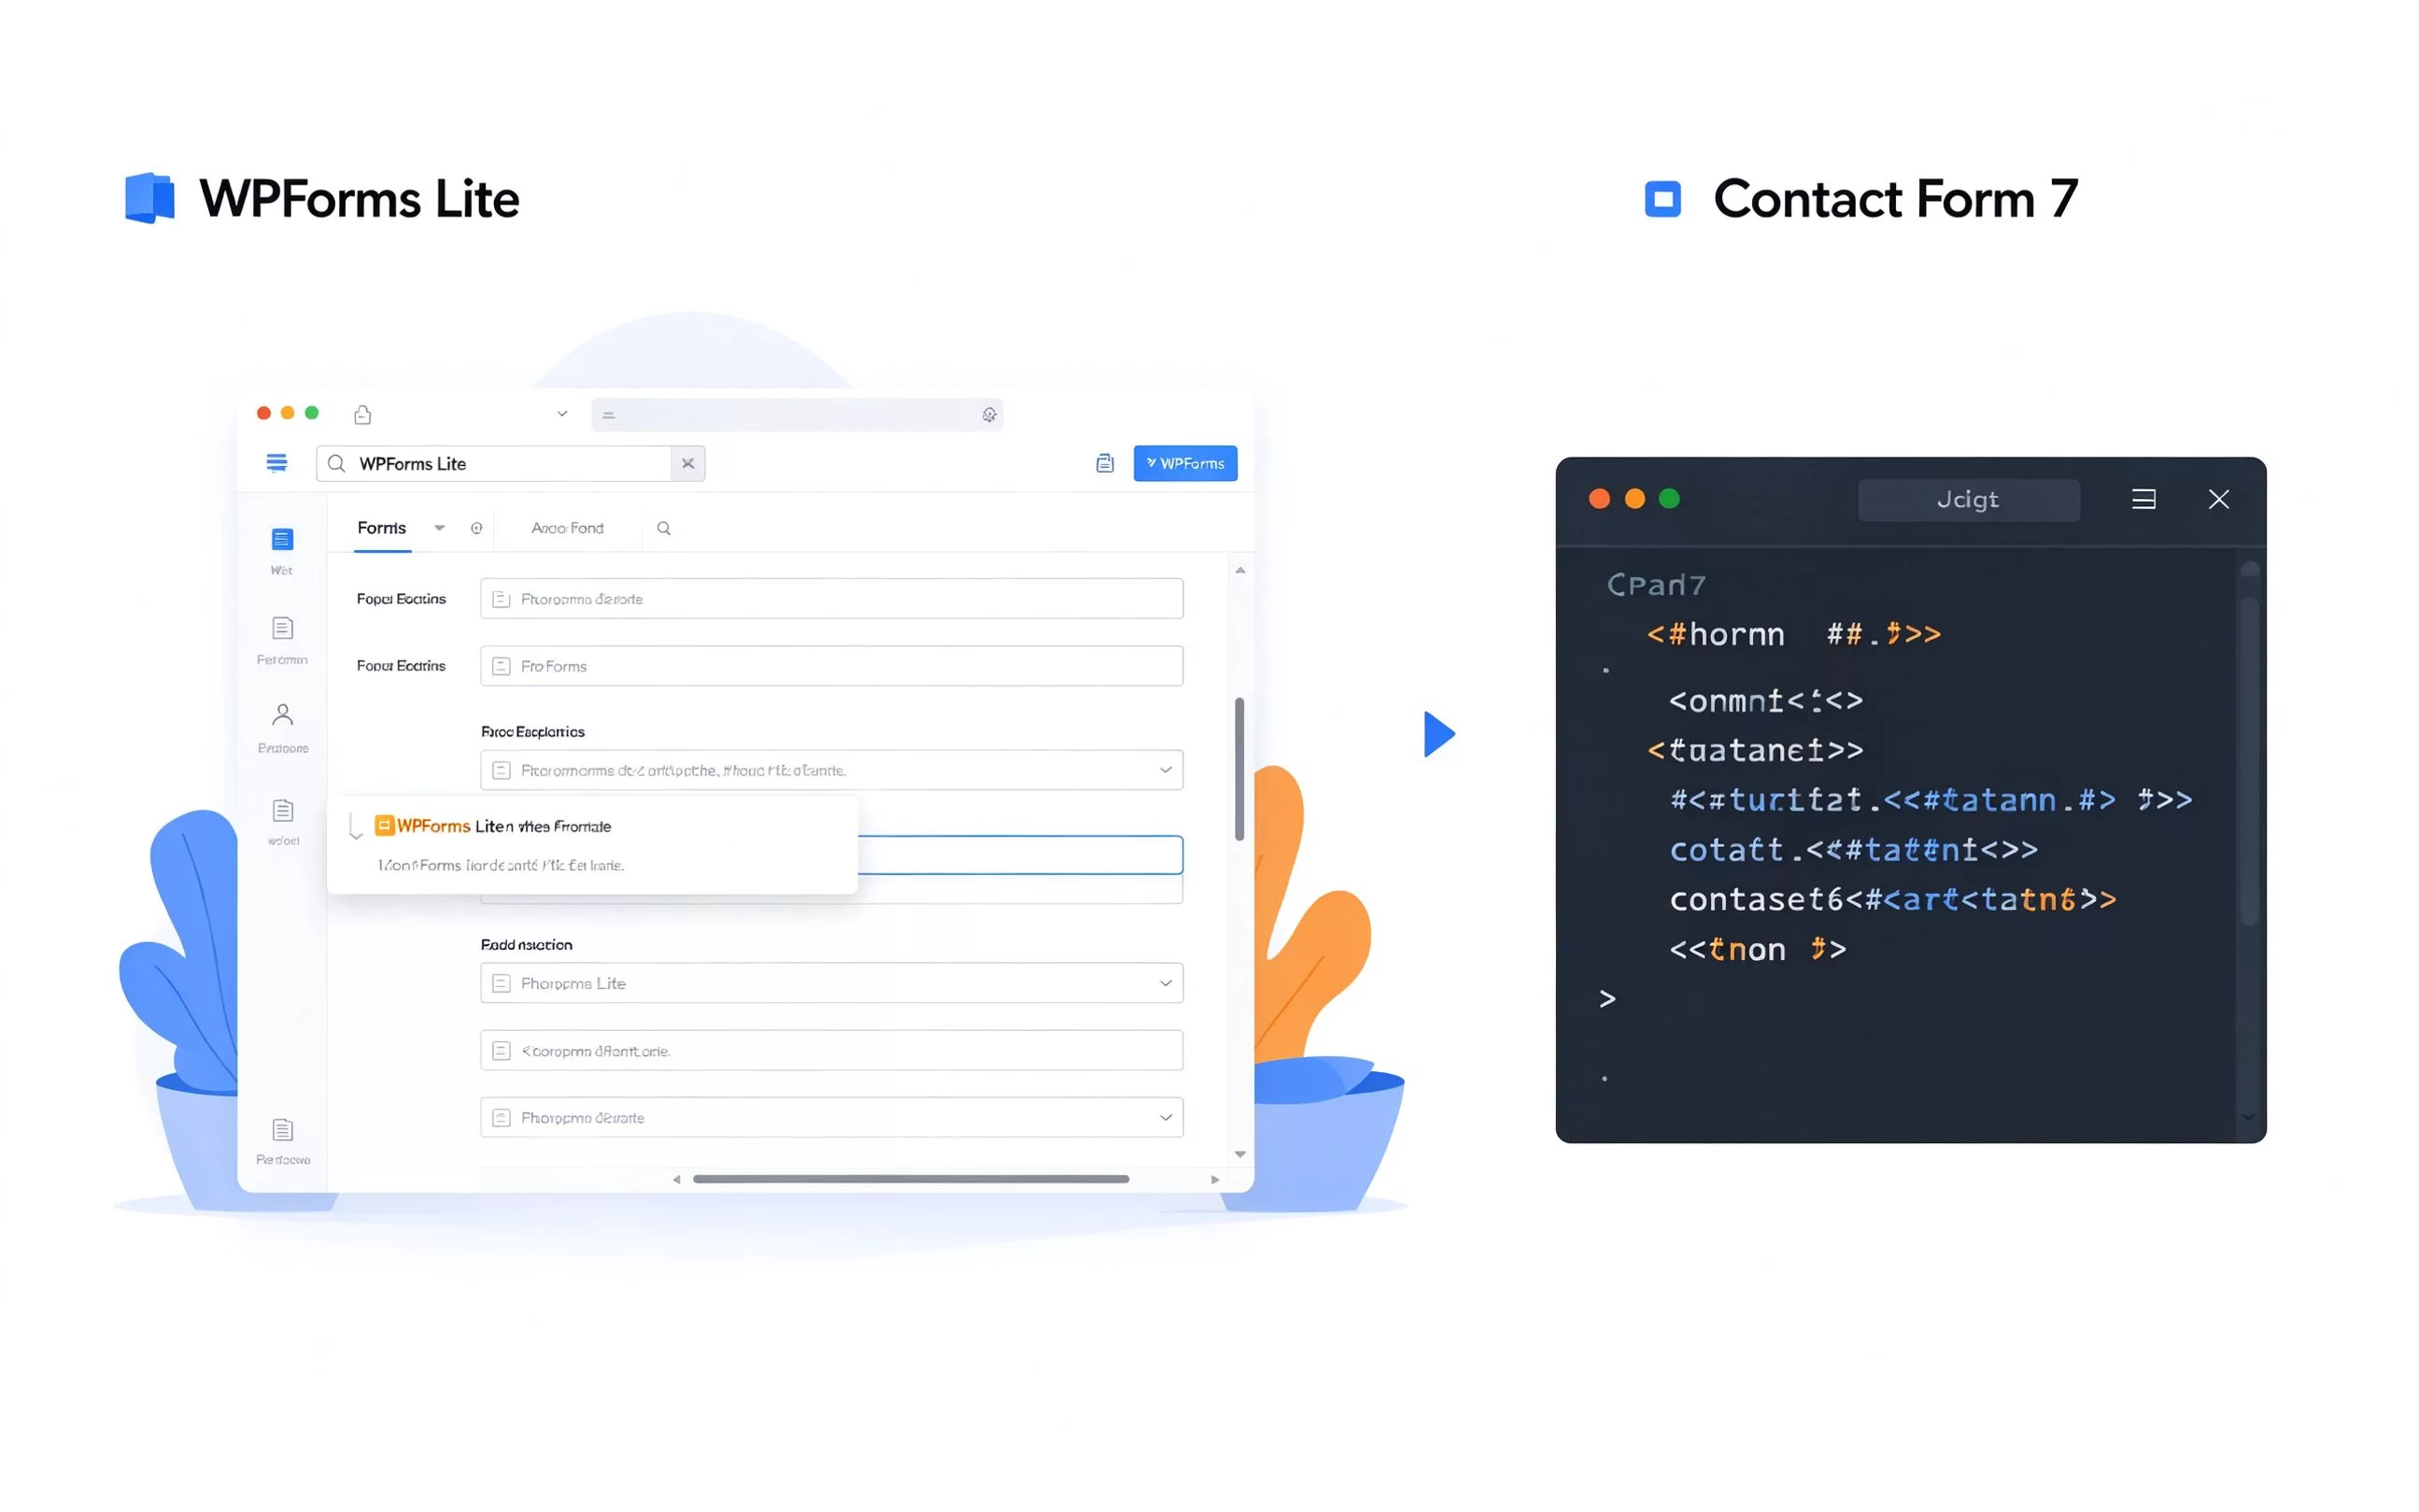
WPForms Lite (left: drag-and-drop) vs Contact Form 7 (right: code-based)
III. WPForms Configuration Steps
Go to the admin panel → Plugins → Install Plugin, search for WPForms, install and activate it. After activation, the left menu will show " WPForms " .
The first step is to create a form. Click " to add a new form " , and choose a template. Beginners can choose " Simple Contact Form " template, which already includes the three fields of name, email, and message.
The second step is to adjust the fields. Drag the field list from the left to the preview area on the right. For foreign trade websites, I generally only keep three fields: Your Name, Work Email, and Message. Delete the default fields such as Phone Number, Company, and Subject—customers won't fill them in.
The third step is to set up notification emails. Click on " to set up " → " to set up " . The default sender is your website administrator's email address; change it to the email address you actually use to receive inquiries. If you want to CC the sales team, enter a second email address in " CC " field, separated by a comma.
Step 4: Set up automatic customer replies. Click " to set " → " to confirm the message " , select " to display the message " , and write: " Thank you for your inquiry, we will reply to you within one business day. " This way, the customer knows you have received their request.
Step 5: Place the form on the contact page. After saving the form, it will give you a shortcode, similar to [wpforms id= " 123 " ]. Create or edit the contact page, paste this shortcode, and publish. The form will then appear on the front end.
IV. Contact Form 7 Configuration Steps
After installing Contact Form 7, the left-hand menu will show " and " . Clicking on it will show a pre-created form; you can then edit it.
The first step is to modify the form fields. In the " form under " tab, you'll see a bunch of English tags: your-name, your-email, your-subject, and your-message. Delete the your-subject line (don't include the subject field), leaving only the name, email, and message content. Each field corresponds to a piece of HTML; be careful not to delete the wrong tags.
The second step is to configure the recipients. Switch to the " email tab " ). In the " To " field, enter the email address you want to receive inquiries. " From " field, enter the email address associated with your website domain. 比如wordpress@yourdomain.com —this must match the SMTP sender email address configured in step 9; otherwise, it will be considered a forged email.
The third step is to configure an automatic customer reply. Switch to the " email 2 " tab and check the "Enable " " box. This email is automatically sent to customers who filled out the form, and the content should read: " Thank you for contacting us. We will reply within one business day. "
The fourth step is to paste it into the page. After saving, it will give you a short code [contact-form-7 id= " 1 " ], which you should paste into the contact page to publish.
CF7 is a bit rougher than WPForms, but its advantages are that it's completely free and loads quickly. I use both when building websites for clients: CF7 for simple small sites, and WPForms Lite for sites where clients want drag-and-drop interfaces.
V. How to design form fields so that customers are willing to fill them out?
This is the most crucial step. The more fields there are, the fewer people will fill them out.
My principle for configuring forms for foreign trade websites is the principle of minimum number of fields. Customers are only willing to fill in three fields: your name, your email address, and what you want to say. Everything else is an obstacle.
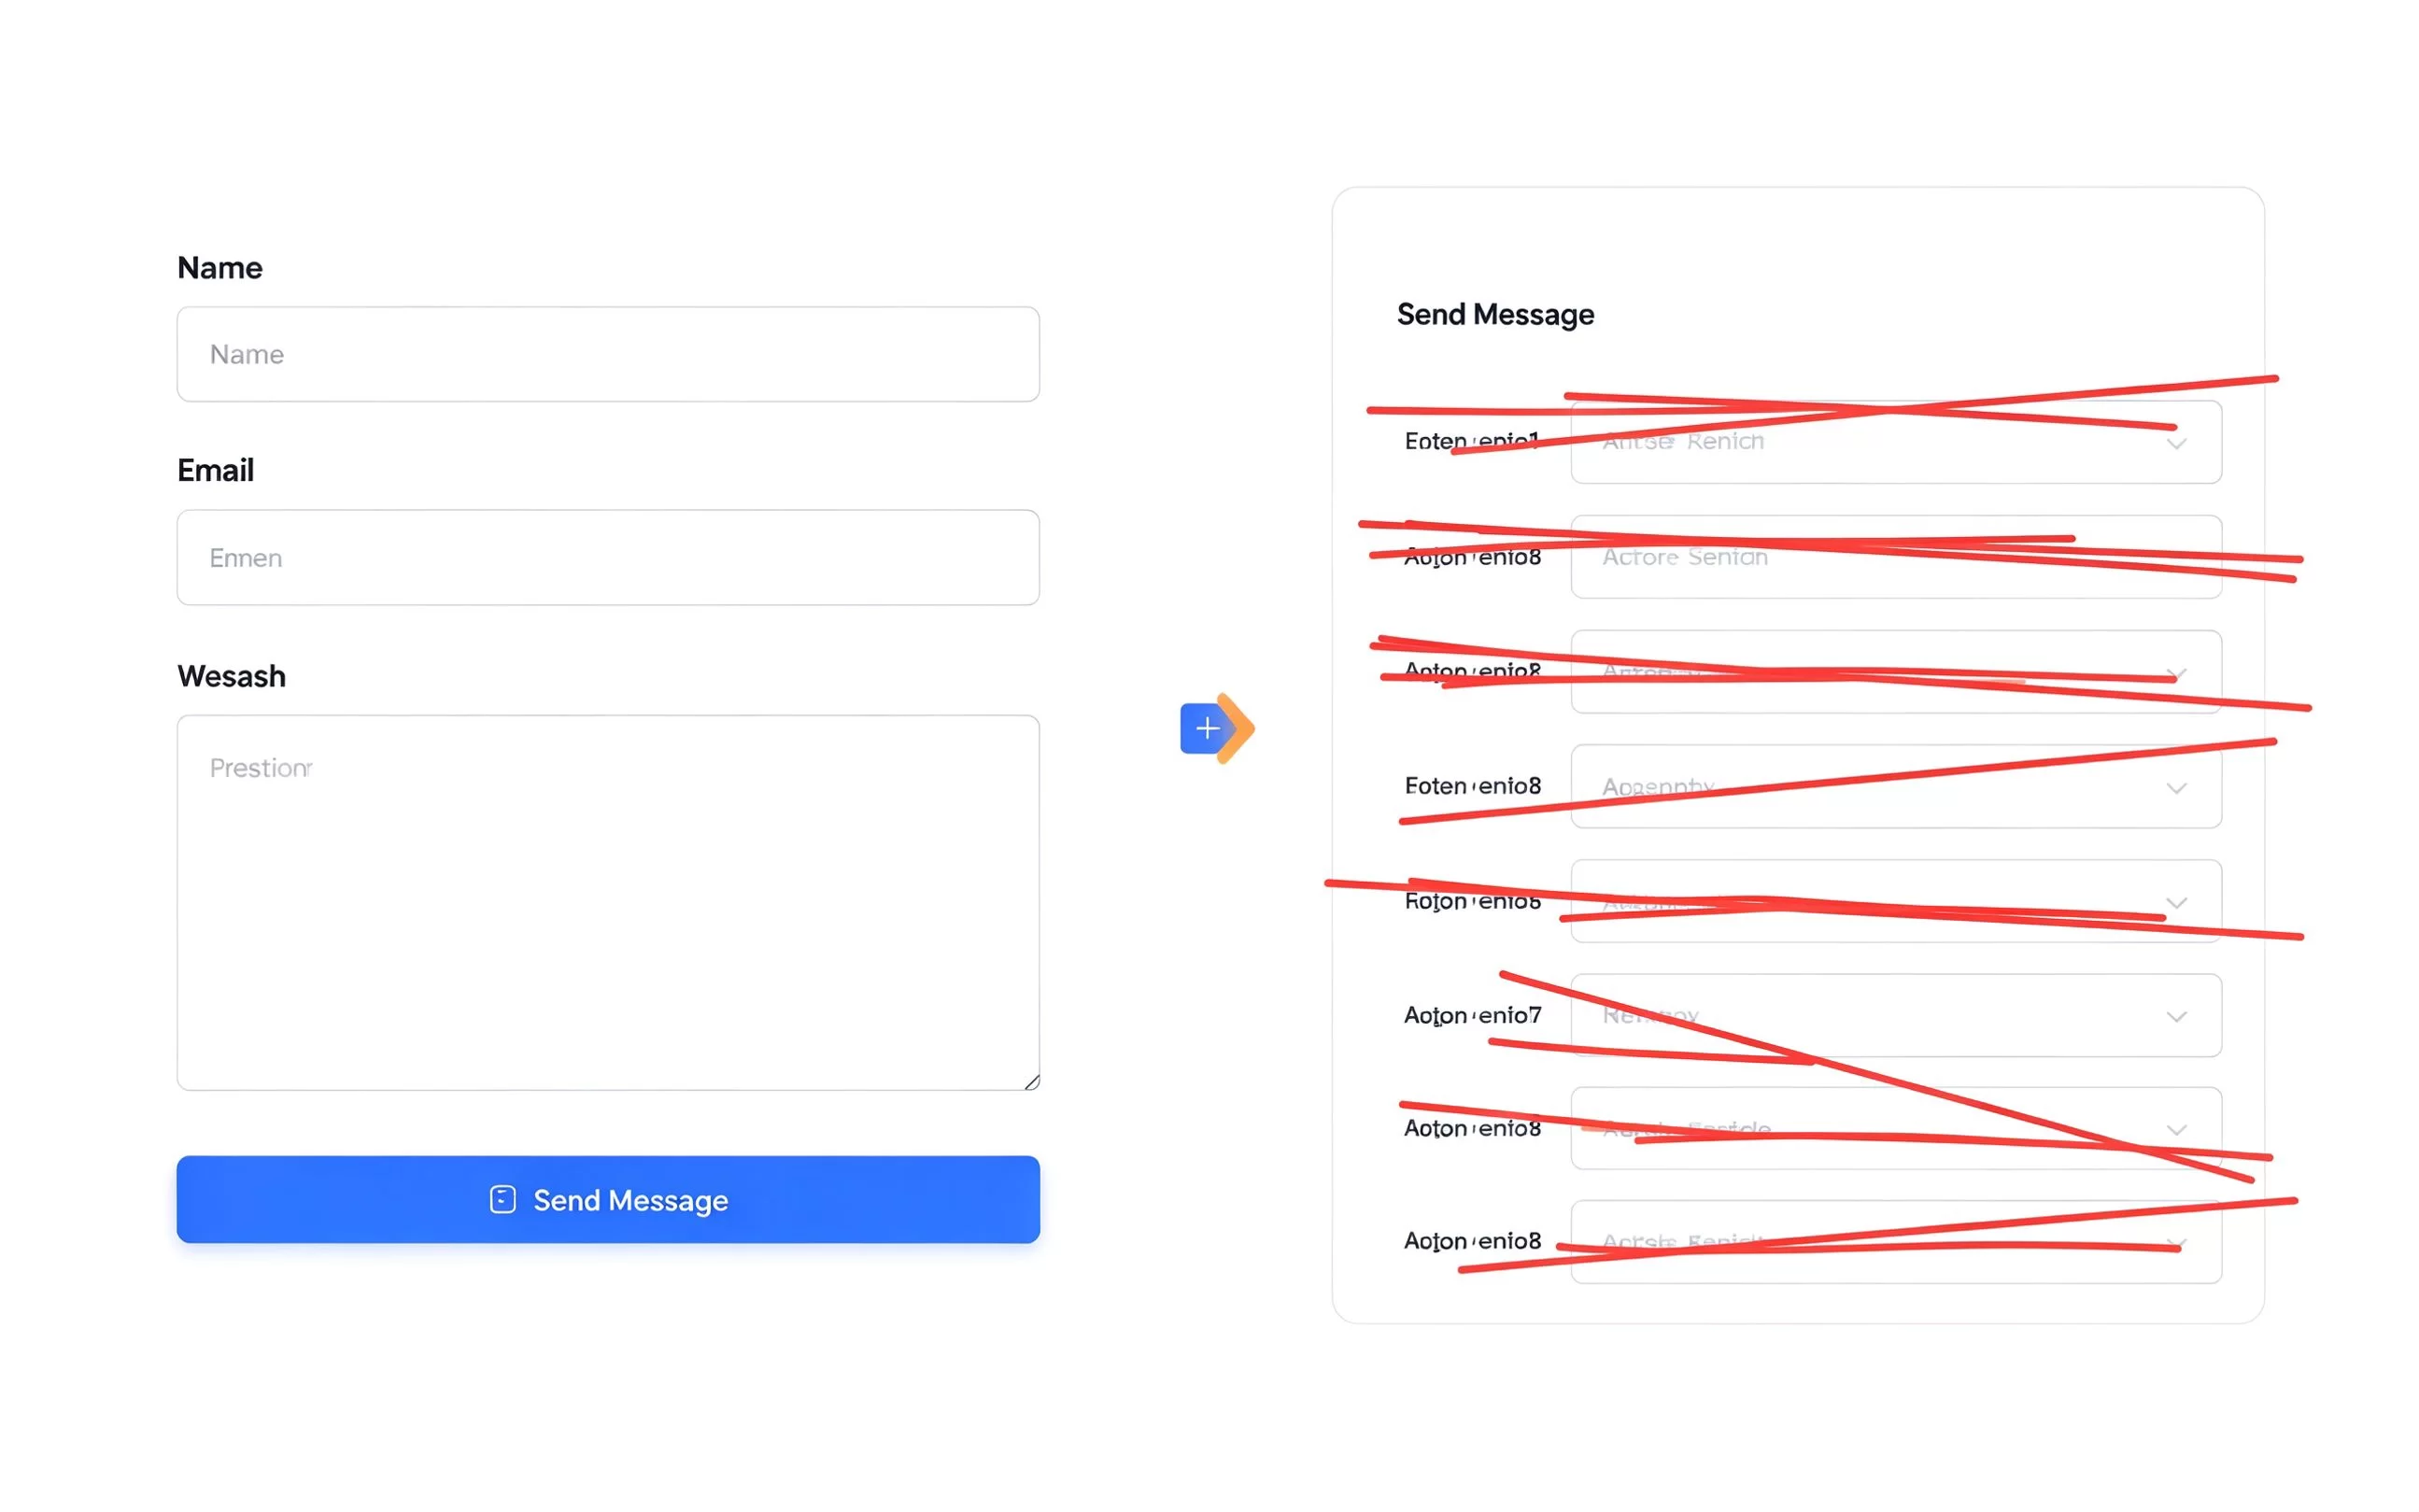
Left: Customers are willing to fill in three fields. Right: Customers close the page immediately after filling in eight fields.
Some might ask: How do I find out his company name, phone number, and what product he wants? The answer is: If he really wants to contact you, he'll write it in the message. If he doesn't want to contact you, he won't fill in ten fields even if you add them.
If you absolutely need to collect more information, you can use conditional logic—WPForms Pro has this feature; if the customer selects " , you need to quote " to display more fields. The free version can't do this, so don't force it.
One more detail: Set " message content field " to a multi-line text box, not a single-line one. The client needs to write more than one sentence.
VI. What does the customer receive after submitting the form?
This step is often overlooked, but it directly impacts the customer experience.
After the customer clicks submit, they should immediately know three things:
1. You have received it. The page displays " Thank you for your inquiry. We will reply to " within one business day."
Second, you've noted down his email address. Simultaneously, an automatic confirmation email will be sent to his inbox, with the content matching the page prompts.
Third, when will you approximately reply? Clearly state " within one business day" or " . Do not write " as soon as possible" or " ". " as soon as possible" or " leaves the customer unsure of when they will receive a response.
Don't cram company introductions, product links, or advertisements into your automated replies. Customers just want confirmation that you've received their message; they don't want to see ads.
VII. Frequently Asked Questions (FAQ)
What should I do if a red error message appears after submitting the form?
Nine times out of ten, the problem lies in the SMTP configuration of the 9th form. The form plugin itself doesn't send emails; it calls WP Mail's sending function, which is the channel managed by WP Mail SMTP. First, send a test email through WP Mail SMTP. If the test succeeds, the form will naturally work.
Can a single page contain multiple forms?
Yes, you can. The product page can have a small form with the inquiries " for this product " , and the contact page can have the full form. The shortcodes for the two forms are different; just paste them into the corresponding pages.
Should we add a CAPTCHA?
I recommend adding it, but if you're using Google reCAPTCHA v3, it won't pop up " dialog box asking you to select all traffic lights " ), so customers won't notice. WPForms and CF7 both support it. Without it, your forms will be flooded with spam bots, and you'll receive dozens of fake inquiries every day.
Should we add company name and phone number fields to the form?
No. If a customer genuinely wants to contact you, they'll include their company name in the message. Adding these fields will only shut out real customers. Real customers will eventually tell you who they are.
End
The contact form is the entry point for receiving inquiries on a foreign trade website. All the previous steps—building the page, installing plugins, configuring email, and setting up SMTP—ultimately culminate in this form—once the customer fills it out and you receive it in your email, the entire process is complete.
After configuring it, I opened the website using my mobile phone's traffic app, filled out the form, and confirmed that I received a notification in my email and the client received an automatic reply, with all fields correct. This one test was more effective than reading ten tutorials.
In the next article, we'll talk about "How to Choose and Configure a WordPress Theme"—now that we have the pages and forms, the next step is to choose a clean, fast theme suitable for an international trade website.
CTMON: wpress foreign trade website building and website technical configuration
CTMON helps you configure contact forms—concise fields, direct notifications, and automatic replies ensure you receive them immediately after customers complete them, guaranteeing you don't miss a single inquiry. CTMON is your most reliable partner on your international trade website building journey.
References and Information Sources
1. WPForms official website: https://wpforms.com/
2. Contact Form 7 Official Website: https://contactform7.com/
3. Google reCAPTCHA:https://www.google.com/recaptcha/
4. wpress official documentation: https://wordpress.org/documentation/
Note: Features, pricing, and configuration methods may vary depending on the plugin version and service provider. For specific setup steps, fees, and interface details, please refer to the official documentation of the relevant service provider.

What does international social media management service include? 2026 Guide to Social Media Management for Export Businesses
2026-10-28

How to write a WordPress product page that will make overseas buyers want to send inquiries?
2026-10-28

How to fix WordPress form emails not sending: Practical WP Mail SMTP configuration
2026-10-27

Are foreign trade promotion companies reliable? Six key criteria for businesses to judge promotion service providers in 2026.
2026-10-26
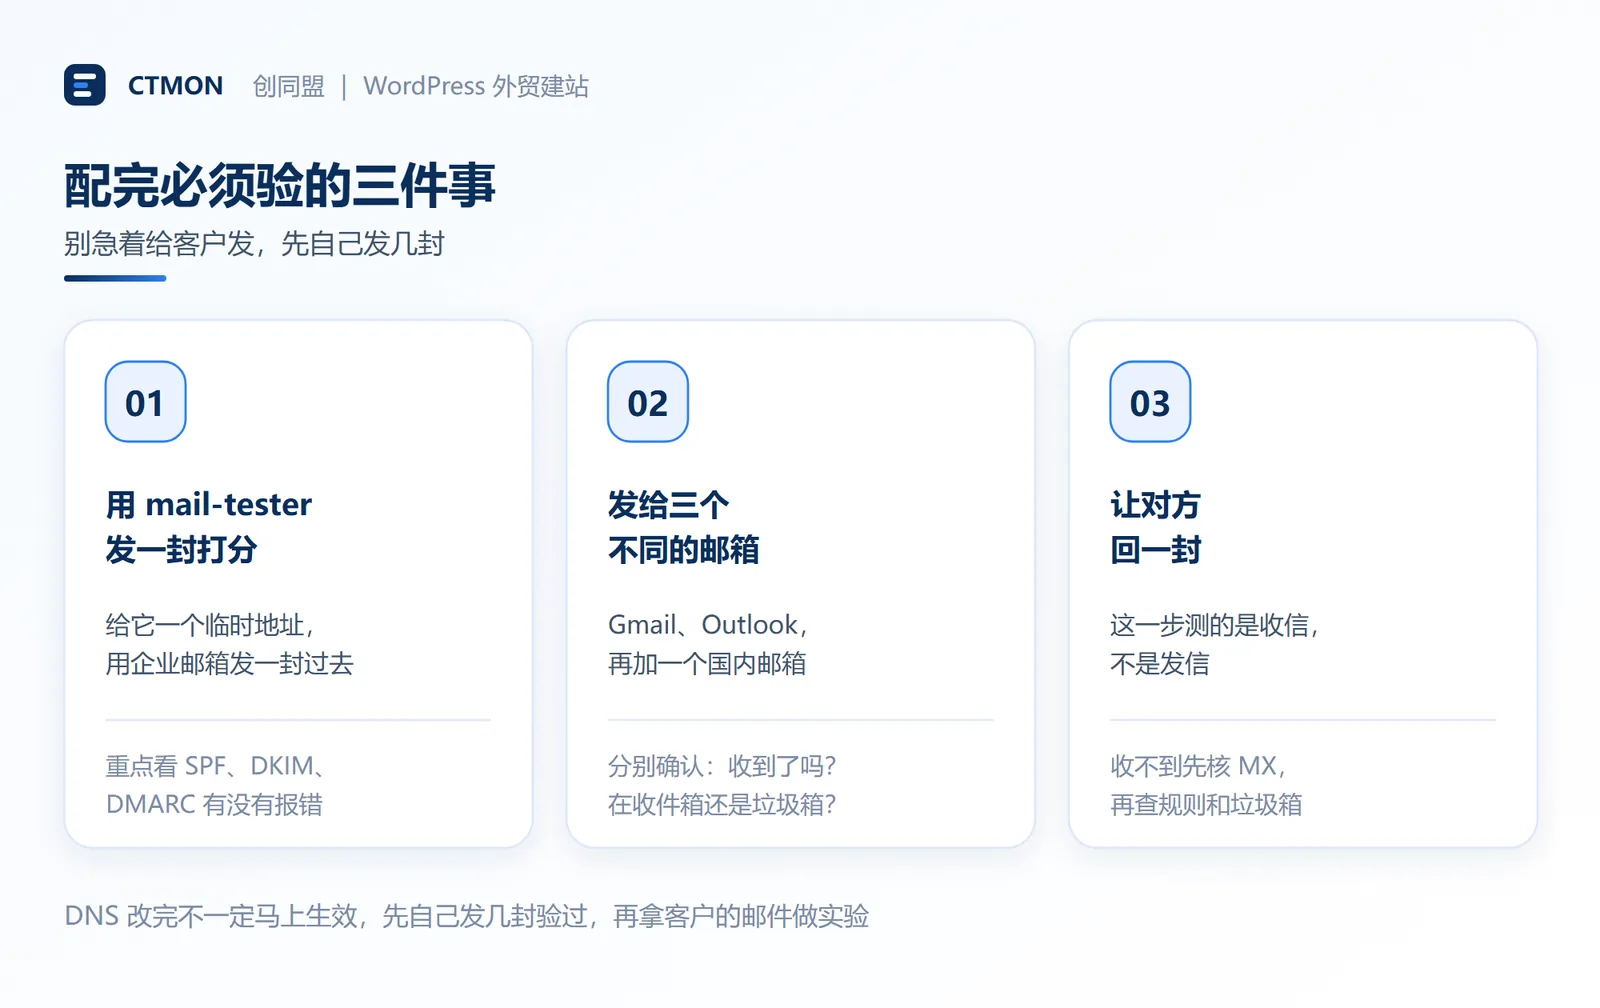
How do I set up an email account for export businesses? How can I configure it to avoid it ending up in the spam/junk mail folder?
2026-10-26
Related Articles
How to write a WordPress product page that will make overseas buyers want to send inquiries?
How to fix WordPress form emails not sending: Practical WP Mail SMTP configuration
How do I set up an email account for export businesses? How can I configure it to avoid it ending up in the spam/junk mail folder?
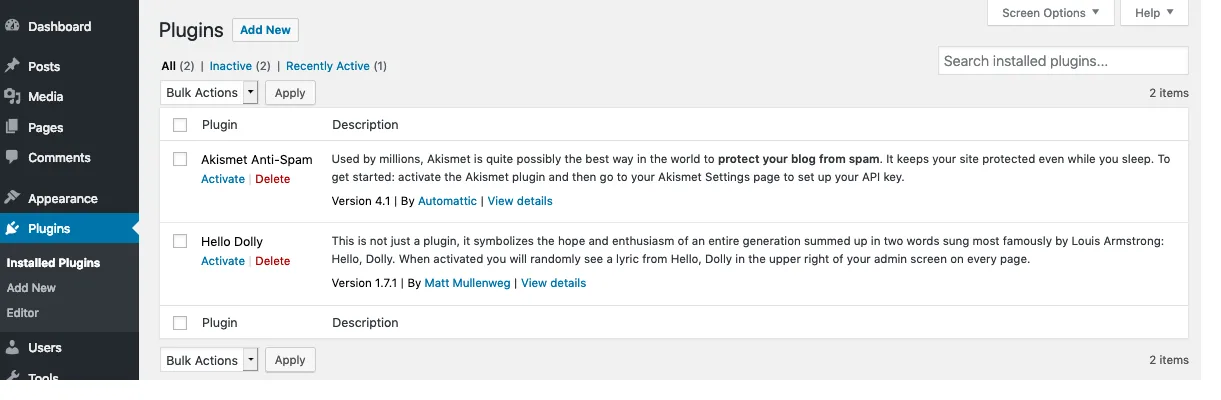
Recommended essential WordPress plugins: 6 types of plugins commonly used for B2B export websites
Essential Pages for a WordPress B2B Export Website: Besides Product Pages, These 11 Page Types Should Also Be Considered

