Contents +
Setting up a local WordPress test site: Three easy steps with Studio
Source: 创同盟
Date: 2026-10-15
Views: 86
You want to change your website theme, but you're afraid of messing it up; you want to try a new plugin, but you're worried about conflicts with existing features; you want to learn WordPress, but you don't want to spend money on a domain name and hosting right away.
One way to solve these problems is to set up a test site on your own computer. This can simulate the theme, plugins, and content of the production website, but it only runs on your computer and won't directly affect the online website. You can safely experiment on it, and if problems arise, you can easily rebuild it. Note that if you want to test an existing website, you need to migrate or copy the corresponding content and configuration locally first; it's not automatically identical after installation.
There are several tools for setting up a local website. This article will only discuss one— WordPress Studio . It's a local development tool developed by the WordPress.com team, and it's quite beginner-friendly. The reason is simple: you don't need to configure a complex server environment yourself; just follow the prompts to build your website.
| Step 1 | Download and Install | Step 2 | Creating a Site | Step 3 | Access the backend |
|---|---|---|
| Download and open Studio | Click "Add Site" and fill in the site information. | Open the backend using WP Admin |
1. Why choose Studio instead of Local?
You may have also seen another tool online called Local. Both are free and can be used to build local WordPress sites, but they differ in their level of "ease of use".
Studio, developed by the WordPress.com team, is built on the WordPress Playground. It doesn't require you to separately install and configure common server components like Docker, Nginx, Apache, or MySQL, making its runtime environment relatively lightweight. Creating and starting a site is usually quick, though the exact time depends on your computer's configuration and network conditions. In contrast, Local uses a more traditional server-like local environment, with different startup methods and resource consumption.
Studio uses the SQLite database by default, so you don't need to manually create a MySQL database or enter a database username and password. Local can also automatically handle many environment configurations, so you don't necessarily need to know databases to use it; it's just that the two tools have different focuses in terms of environment and operation.
Studio also has a very useful feature for beginners: it allows you to generate a temporary online preview link for your local site and send it to friends or clients. The recipient can open the preview page through a browser, without you needing to purchase hosting first. The sharing function requires a WordPress.com account connection; the free quota, the number of shares allowed, and the link validity period are subject to the current Studio interface and official instructions.
Of course, Studio also has its limitations. It's not suitable for all development tasks that require fine-grained control over the server, PHP version, or database environment. If you need more in-depth environment debugging in the future, you can consider tools like Local. But if you're just testing themes, trying out plugins, learning WordPress, and preparing website content, Studio can already meet many basic needs.
| Comparison items | Studio | Local |
|---|---|---|
| Suitable use cases | Learning how to operate, theme/plugin testing, and quick setup | More precise control over the local development environment is needed. |
| Database and configuration | Normally, no manual configuration is required; SQLite is used by default. | It can automatically configure a complete local website environment. |
| Online preview | Previews can be created through account-related functions. | The sharing method depends on the specific tools and configurations. |
Step 1: Download and install Studio
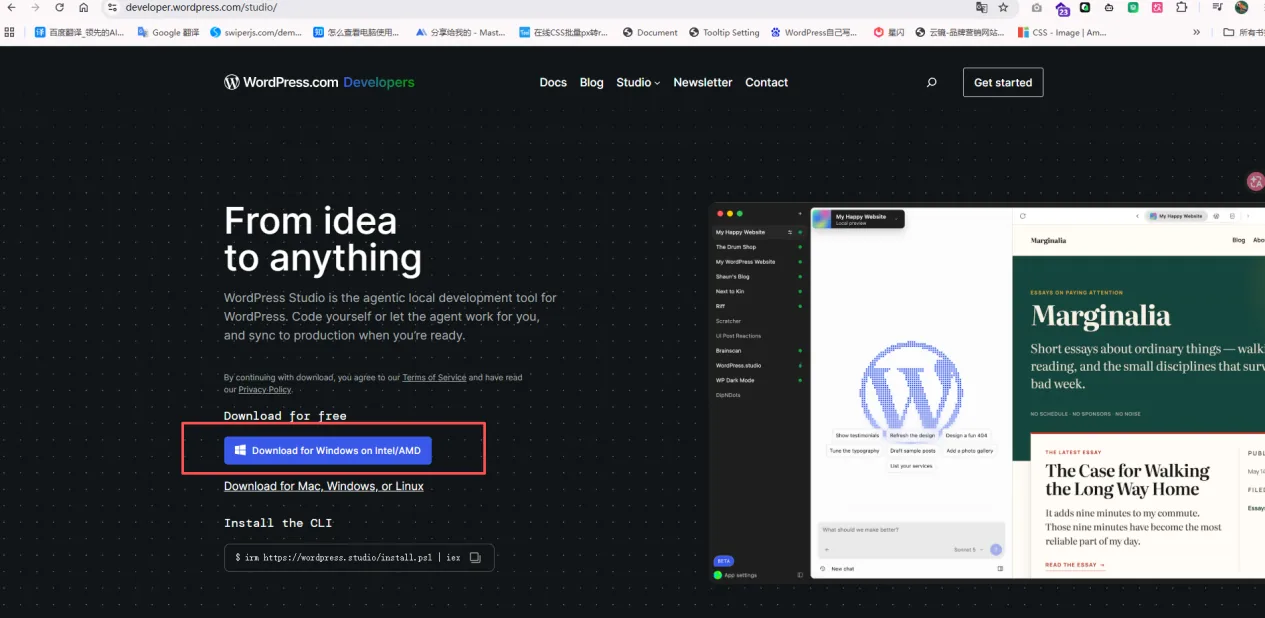
Open your browser and visit the official download page for Studio: developer.wordpress.com/studio.
After entering the download page, select the installation package corresponding to your operating system. Windows usually uses an .exe file, while Mac usually uses a .dmg file. The installation package size may vary with version updates; please refer to the actual download page for the correct size.
After downloading, double-click the installation package and follow the prompts to complete the installation. The entire process is the same as installing any other software and requires no additional configuration.
After installation, open Studio and you will see a clean and simple interface.
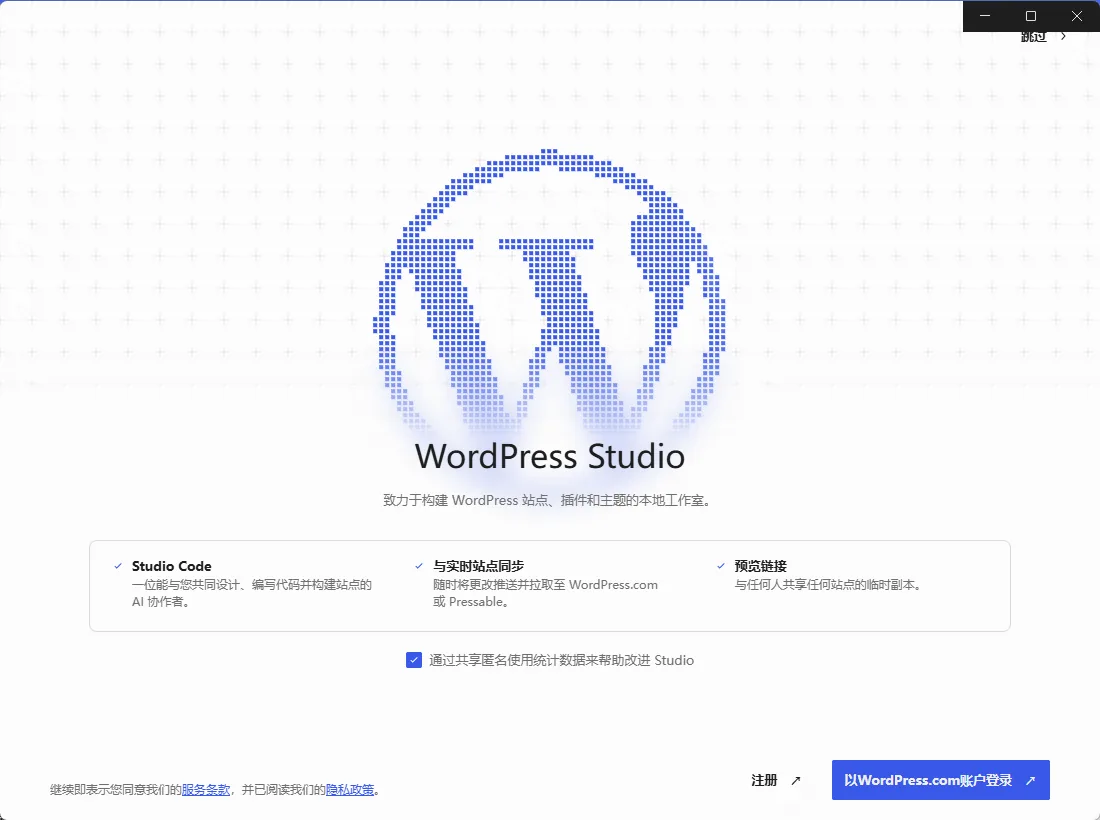
When you first open Studio, you can log in or connect to your WordPress.com account as prompted on the screen, or you can skip this step and use the local website building function directly. Log in only when you need to use account-related functions such as online sharing.
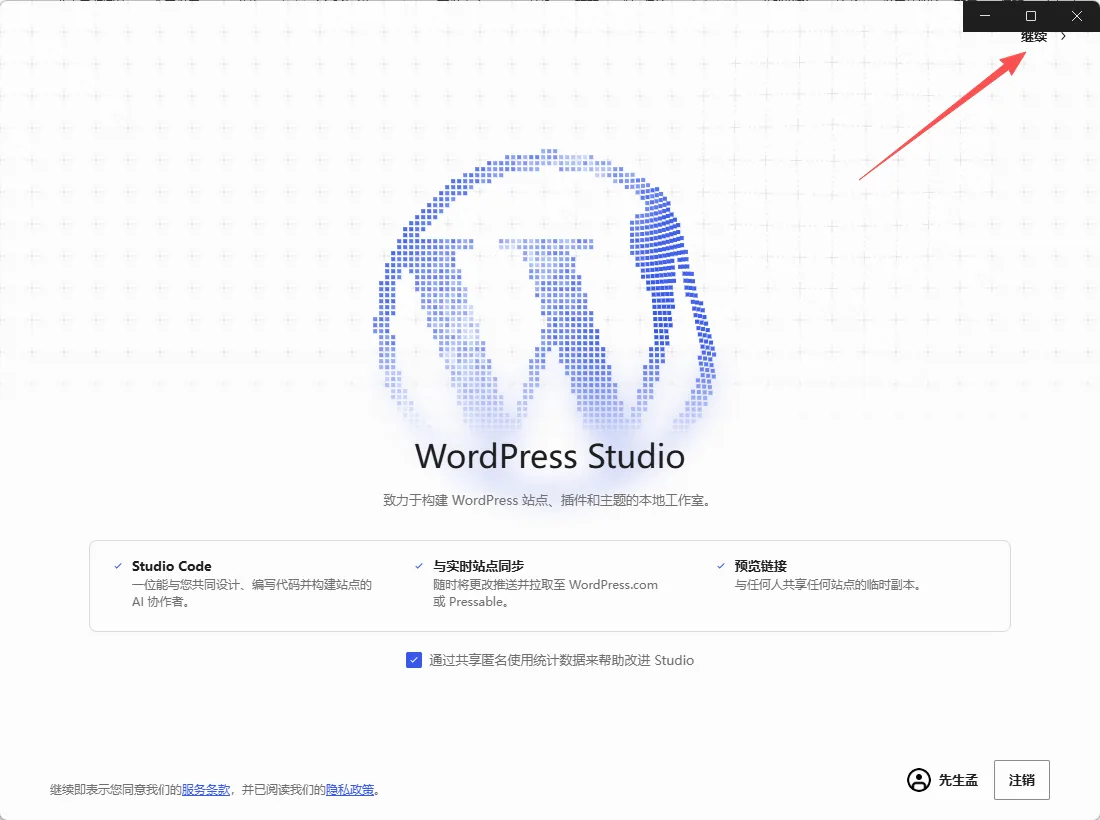
If the download page or software interface differs from the screenshot you see, Studio may have been updated. Refer to the buttons and prompts on the current official page for accuracy.
III. Step Two: Create a Site
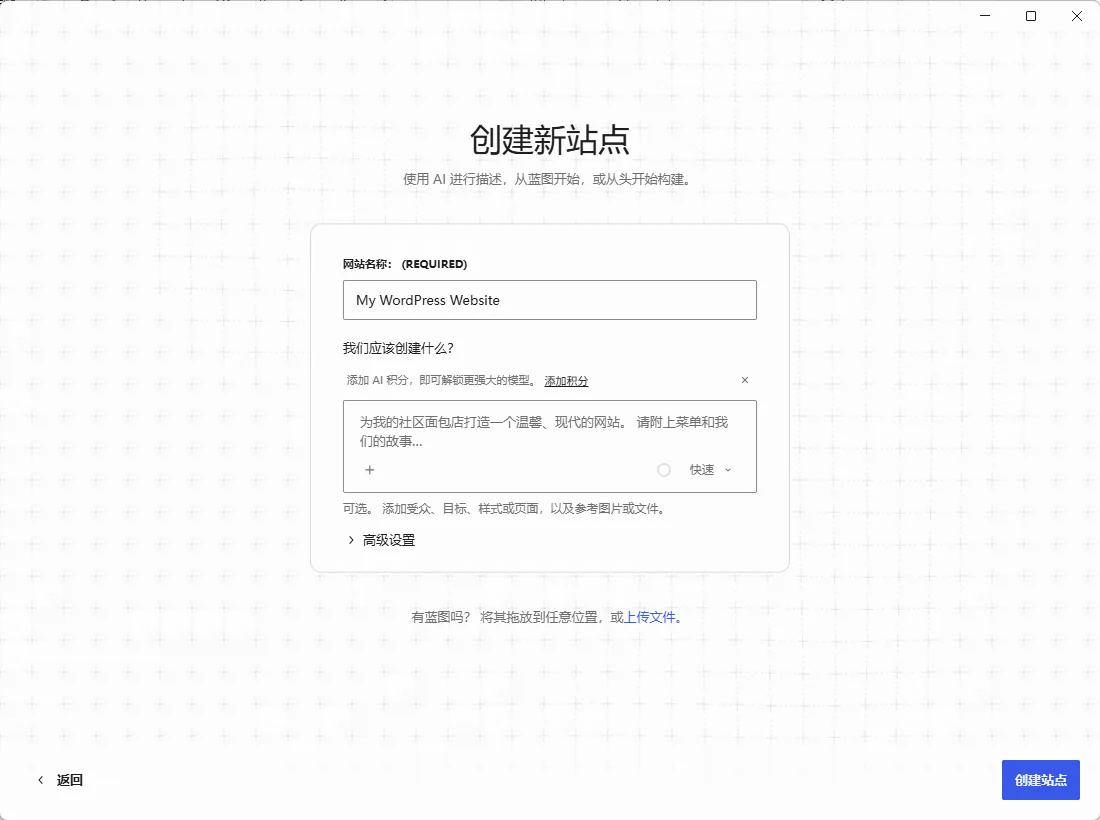
In the Studio interface, click the "Add Site " button.
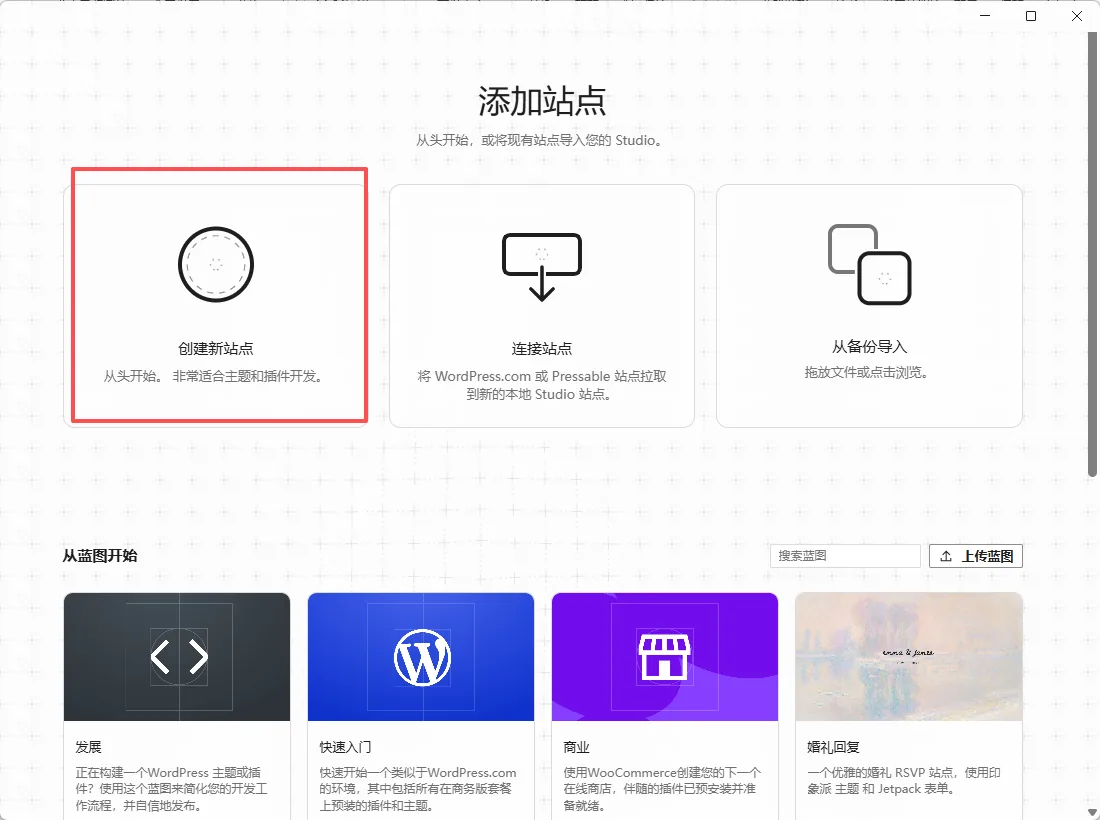
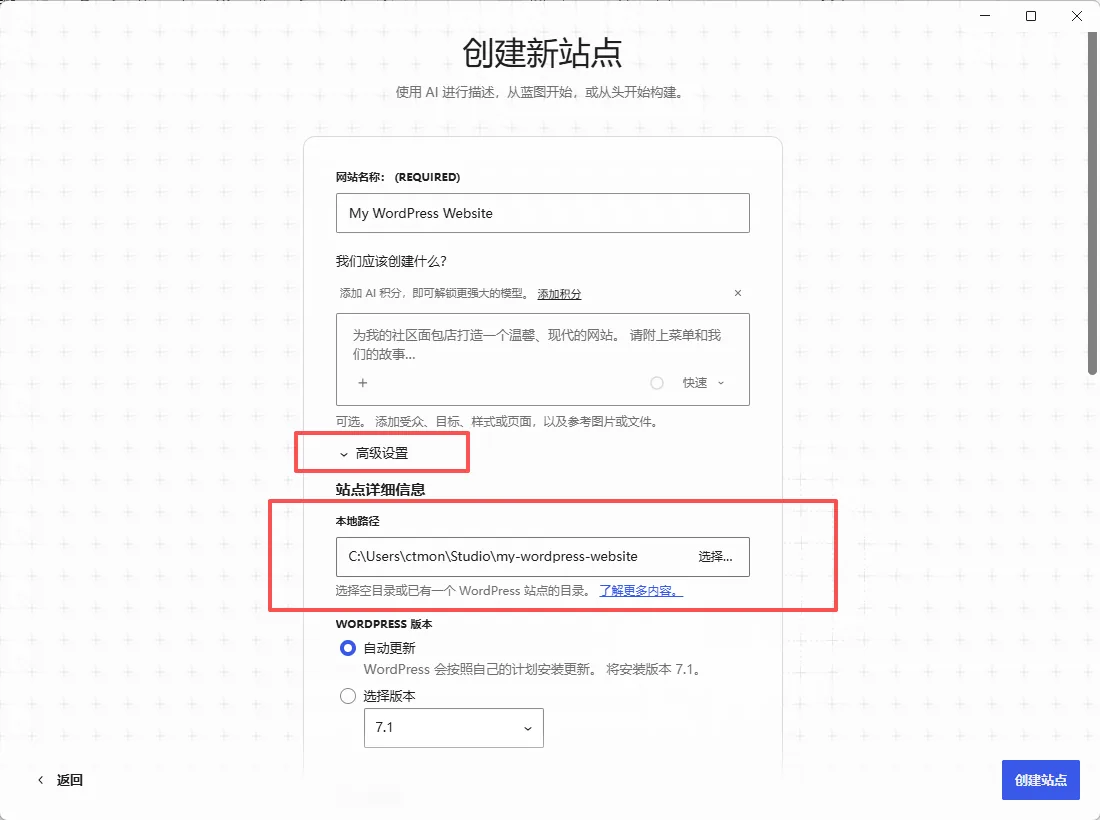
Next, fill in the site information as prompted on the screen, mainly including the site name and save path; different versions may also display other options.
Site name. You can choose an easy-to-identify name, such as "My Test Site" or "test-site". This is the name you use when managing the site in Studio, and it is not the same as the domain name of the official website.
Save path. Studio provides a default location. Beginners can use the default path; if you want to manage your files yourself, you can choose a folder on your computer with enough space.
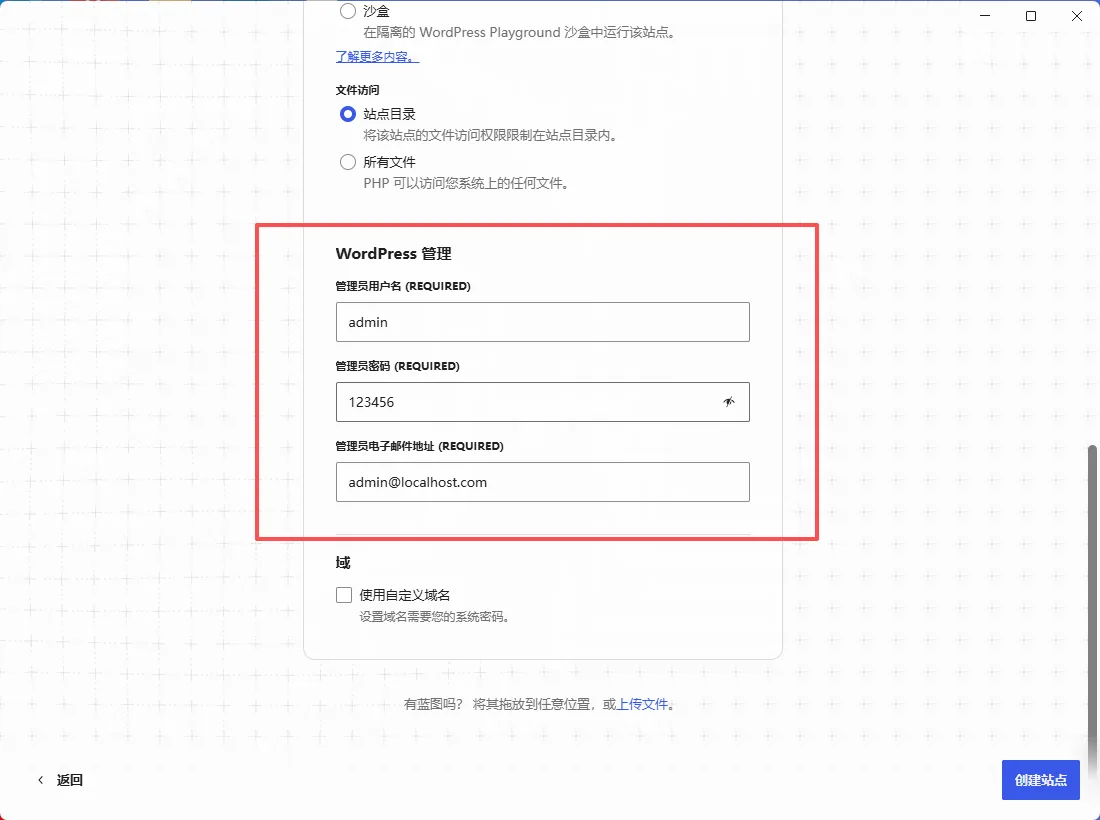
If the interface provides WordPress admin settings, remember to set and save your admin username and password. This is for the local WordPress site's admin account, not the WordPress.com account. Do not use the example password shown in the screenshot.
After clicking "Confirm," Studio will automatically create the necessary WordPress environment, initialize the site, and start the local service. You usually don't need to manually enter database information. The first time you create a site, file downloads may occur; the waiting time will vary depending on your network and computer configuration.
Once created, your local WordPress site is ready to run. The site will appear in the Studio list; if it's not already running, follow the on-screen instructions to start it.
Fourth, the third step: Open the backend and start tinkering.
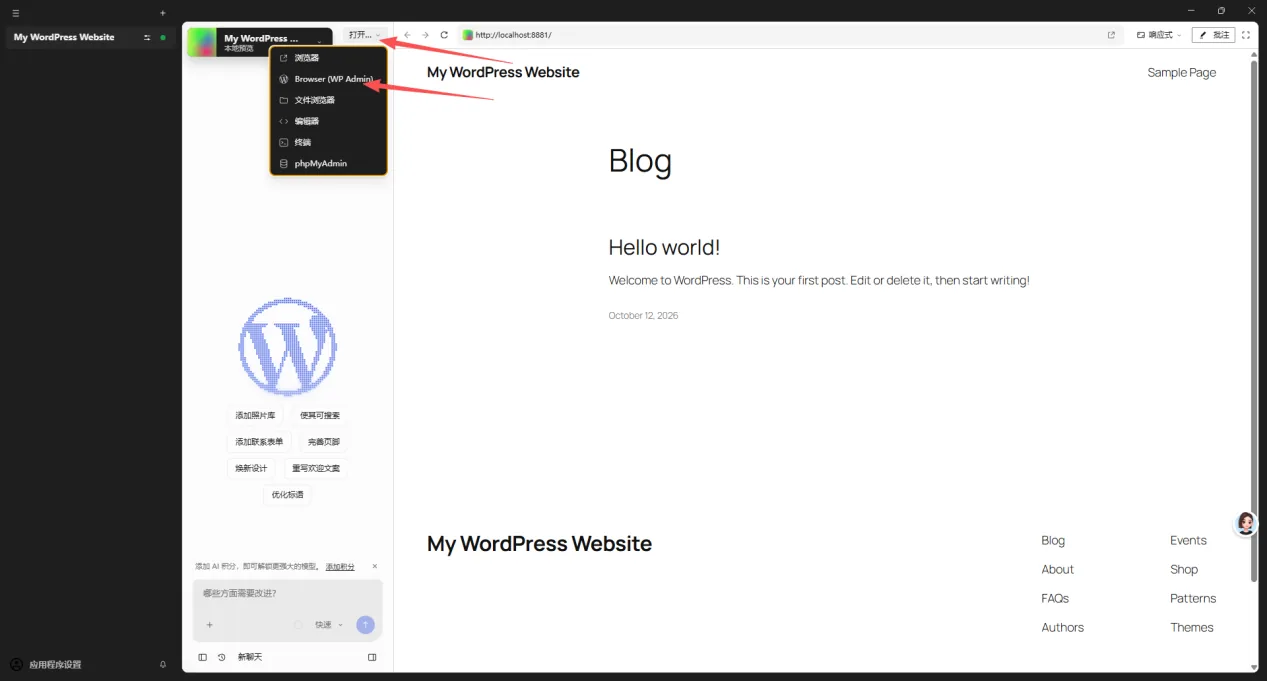
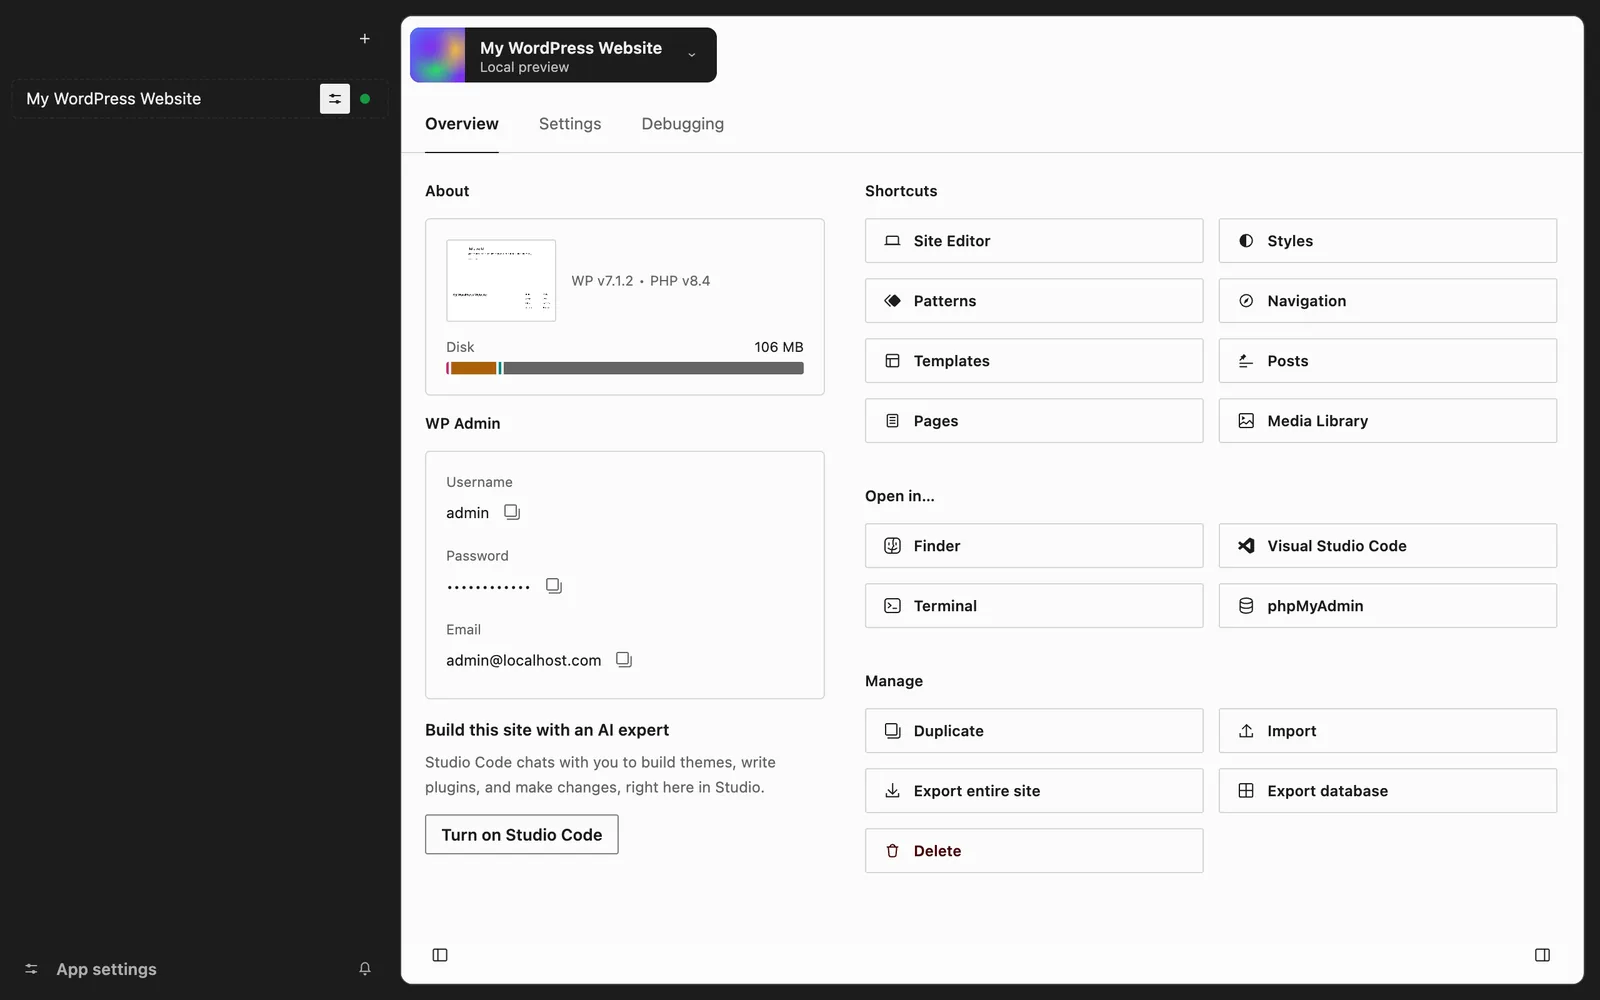
Click on a site in the left-hand list, and you will see several action buttons appear on the right:
WP Admin — This is the entry point to the WordPress admin panel. Clicking it will open the management page of your local site in your browser. Log in using the administrator account you set when creating the site; if you forget your account information, you can first check the settings or login options for the corresponding site in Studio.
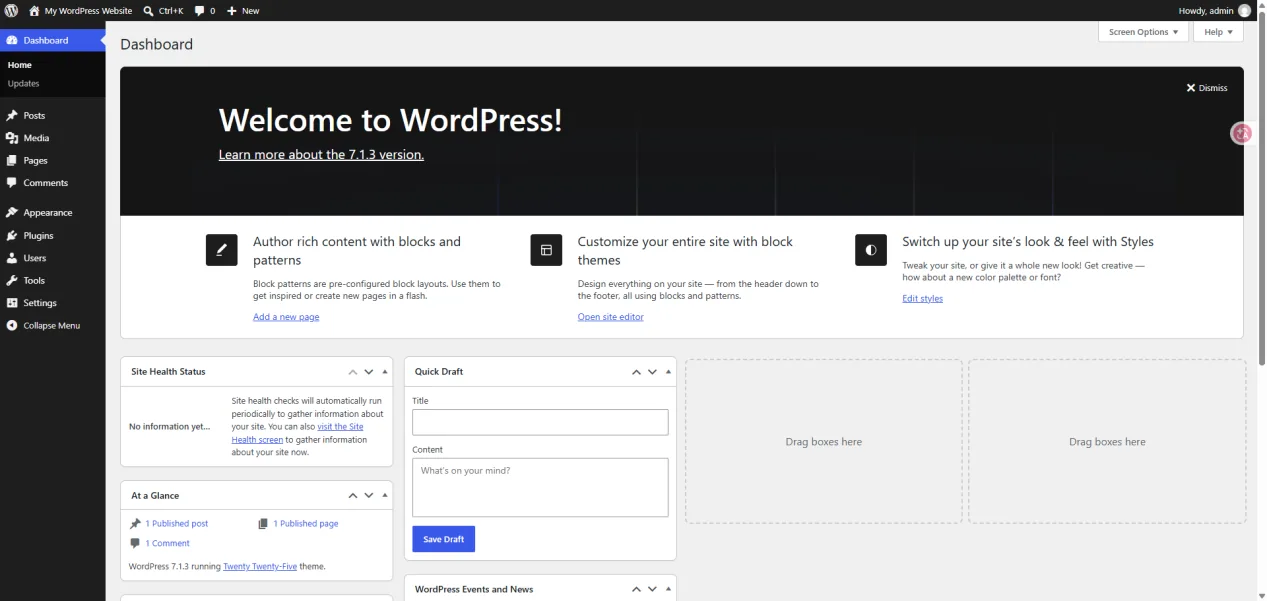
File Browser – Clicking this will directly open the folder containing your site's files. Use it if you want to manually modify a file or view the WordPress file structure.
Terminal – If you have some knowledge of the command line, you can run WP-CLI commands here.
Sharing – If you need to share your site with friends or clients, you can find the sharing function in Studio, connect your WordPress.com account, and then follow the prompts to create a demo site or preview link. This way, the other party can view the preview content through a browser without needing to access your computer. Note: This is for preview purposes only and does not equate to deploying the official website online; when dealing with client information, do not put sensitive content on the public preview site.
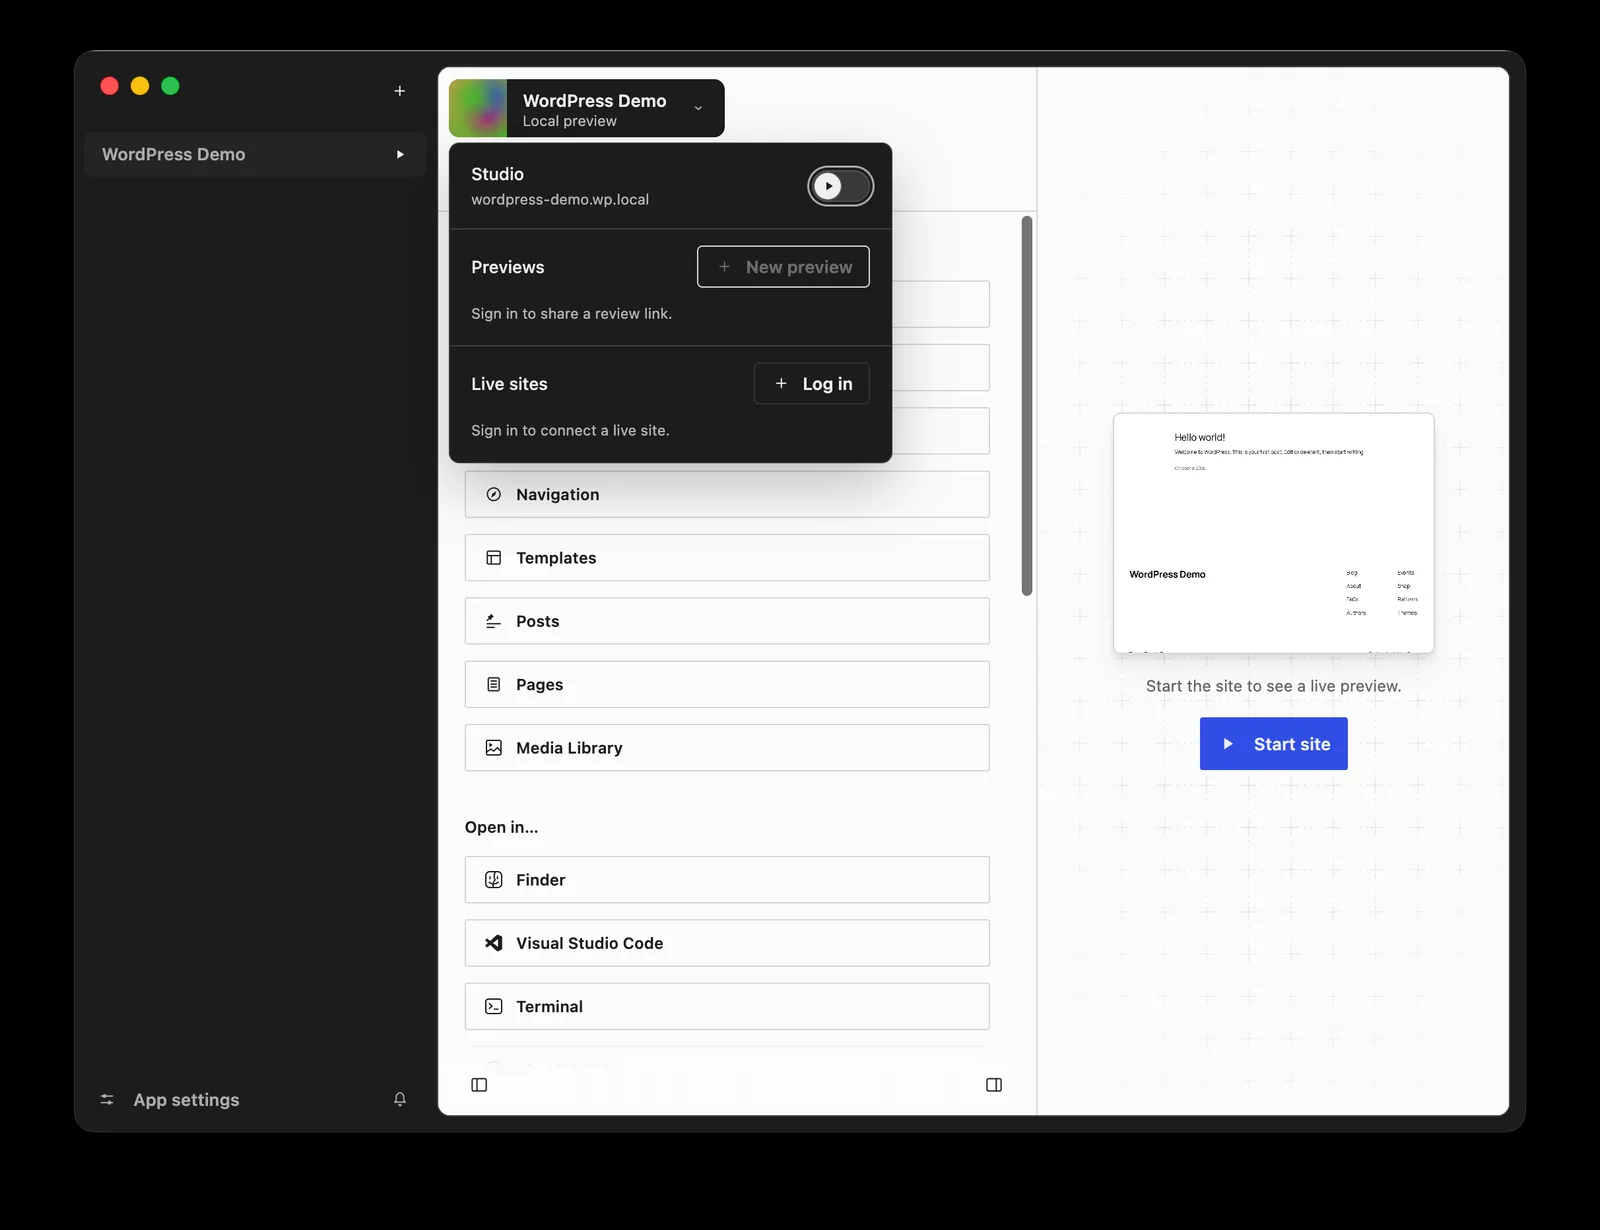
V. What can be done on a local site?
Now you have a site you can mess around with as you like, and it's completely isolated from your online website. You can do these things:
Test the theme. Go to "Appearance → Themes," install the theme you want to try, and see the actual effect. If you're not satisfied, switch to another theme; it won't directly affect the official online website.
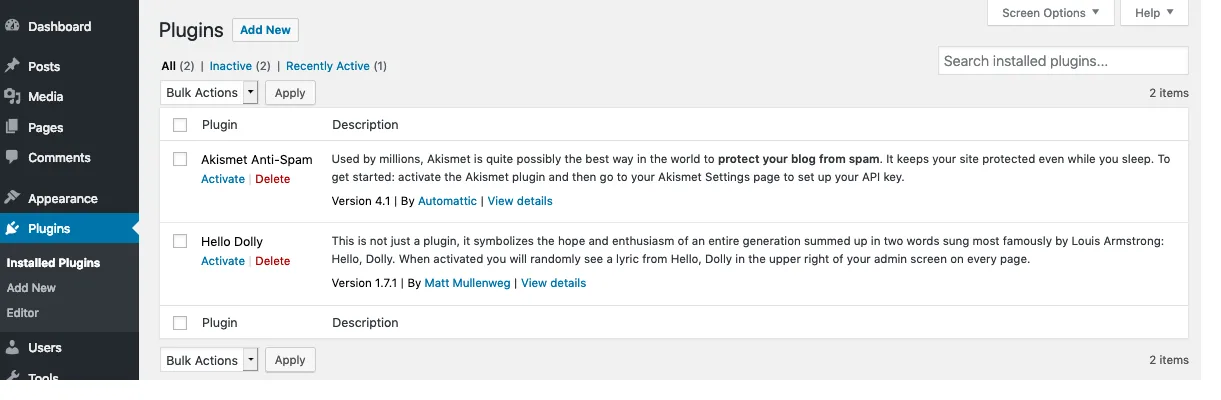
Test the plugin. Search for the plugin you're interested in under "Plugins → Install Plugin," install and enable it. See if it works well and if it conflicts with your existing features.
Prepare your website content. You can write your articles and pages locally first, upload images, and adjust the layout. Once your production server is ready, choose a suitable migration method based on your target hosting environment. Studio's exported files can be used for backup or migration, but it cannot guarantee that any compressed file format can be completely restored directly through the "Import" function in the online WordPress backend; during migration, you will usually also need to check the database, media files, plugins, and site addresses.
Practice the website building process. Go through it from beginning to end: setting up permalinks, creating menus, writing posts, uploading images, and configuring widgets. Completing the process will significantly improve your understanding of WordPress.
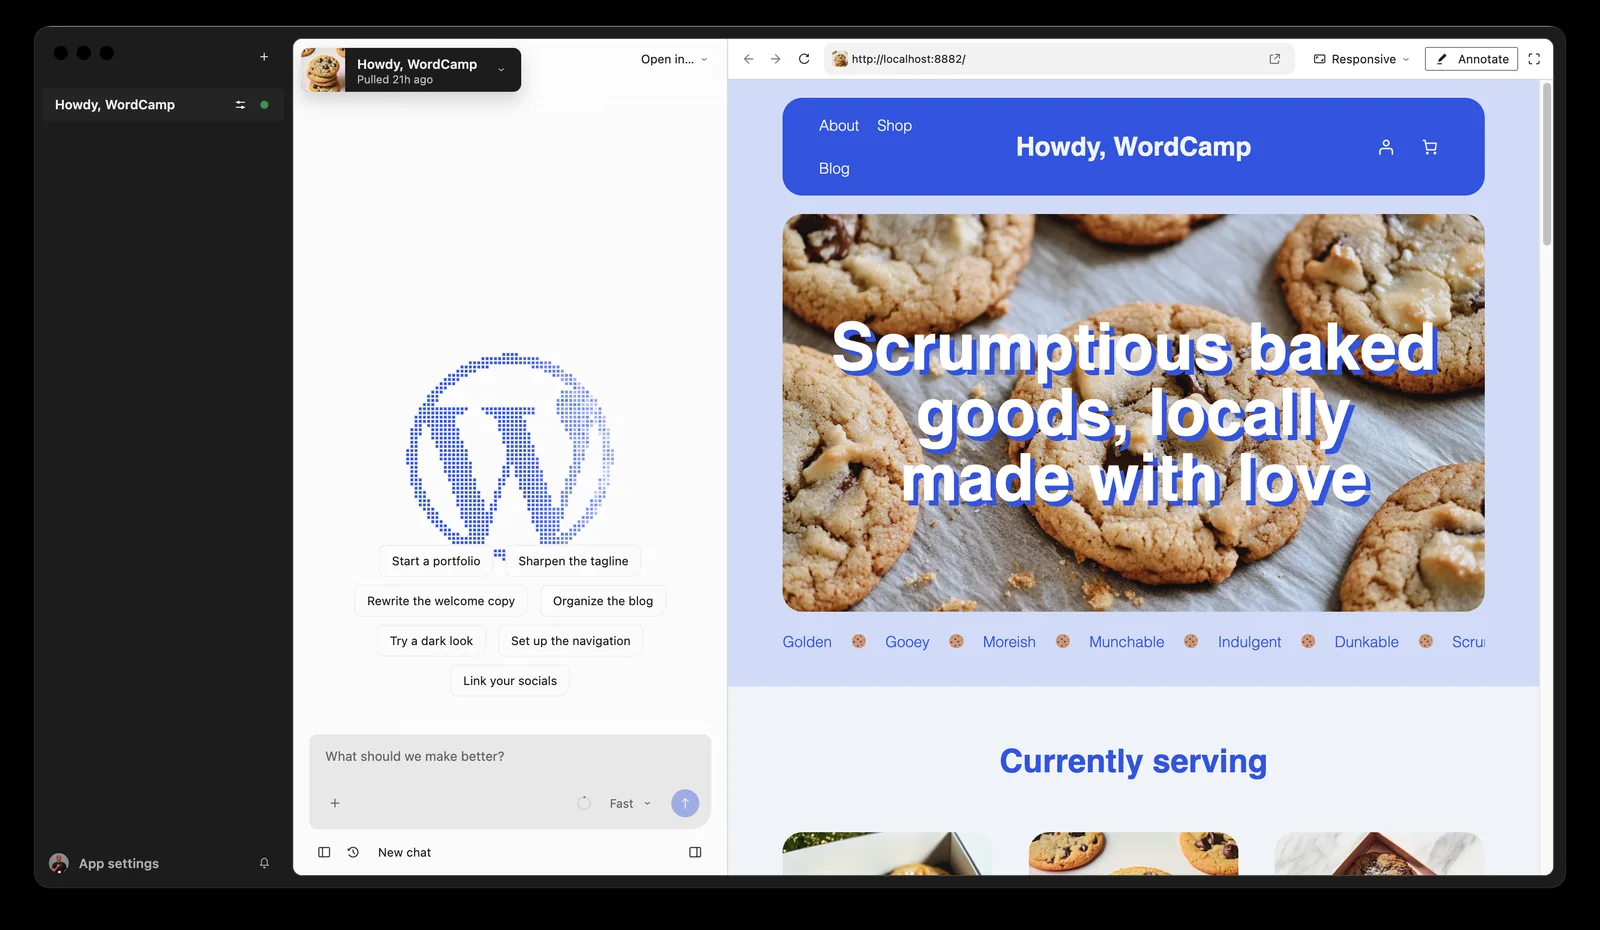
Try AI-assisted website building. If your Studio version offers Studio Code or related AI-assisted features, try describing your needs in natural language as instructed on the interface, such as "Create a homepage with a three-column layout for me." The feature's access, eligibility requirements, and generated results may vary depending on the version; you'll still need to manually check the page and code after it's generated.
VI. Several points to note
Operating System. The Studio website currently offers download links for macOS, Windows, and Linux platforms; installation and usage methods may differ depending on the system, please refer to the official website for details.
Share the link. Demo sites usually have usage periods and account limits. After creating the link, pay attention to the expiration date, update method, and number of shares displayed in Studio; if you intend to showcase your site long-term, it is recommended to use the official online environment.
Local website speed does not represent online performance. Local performance is affected by computer configuration and environment, while online performance is also affected by server, network, cache, and other factors. Therefore, local testing is suitable for checking functionality and page appearance, but not for directly using it as the result of online speed testing.
Moving from on-premises to online requires a migration process. Studio's hosting platform integration differs from the typical web hosting migration process. If using other hosting providers, you'll usually need to use compatible migration plugins, backup tools, or manual migration to correctly transfer website files and databases, and check that links, images, forms, and plugins are working correctly.
VII. Conclusion
Setting up a local WordPress test site with Studio only takes three steps:
Download and install from developer.wordpress.com/studio
Click " Add Site ", choose a name, and wait a few seconds.
Open WP Admin and start tinkering.
You don't need prior database knowledge or to configure complex server environments to practice WordPress website building on your computer. Studio and Local each have their suitable scenarios; if your goal is to first learn how to operate and test themes and plugins, Studio is a more convenient starting point. Once your local site is ready, then consider domain names, hosting, and the actual migration. By then, the entire website building process will be easier to understand.
8. Want to build a formal WordPress website?
Setting up a local test site using Studio can help you familiarize yourself with the basic operations of WordPress and also allow you to test the effects of themes, plugins, and pages in advance.
However, there are differences between a local test site and a fully launched website. If you are preparing to build a corporate website or B2B export website targeting overseas customers, in addition to the website itself, you also need to consider page structure, user experience, basic SEO settings, as well as subsequent content updates and website maintenance.
CTMON specializes in B2B digital marketing services, providing WordPress website building, B2B export website development, and SEO optimization. From initial website planning and page design to subsequent optimization, CTMON helps businesses build websites that better suit the browsing habits of overseas customers and their business promotion needs.
If you are considering using WordPress to build a formal B2B export website, you can also learn more about CTMON's B2B export website building services .
References and Information Sources
[1] WordPress Studio official product and download page: https://developer.wordpress.com/studio/
[2] WordPress Studio · Studio Sites (Site Management): https://developer.wordpress.com/docs/developer-tools/studio/sites/
[3] WordPress Studio · Preview Sites (Create, update, and share preview sites): https://developer.wordpress.com/docs/developer-tools/studio/preview-sites/
[4] WordPress Studio · Import & Export (Import, Export and Migration): https://developer.wordpress.com/docs/developer-tools/studio/import-export/

What does international social media management service include? 2026 Guide to Social Media Management for Export Businesses
2026-10-28
How to write a WordPress product page that will make overseas buyers want to send inquiries?
2026-10-28

How to fix WordPress form emails not sending: Practical WP Mail SMTP configuration
2026-10-27
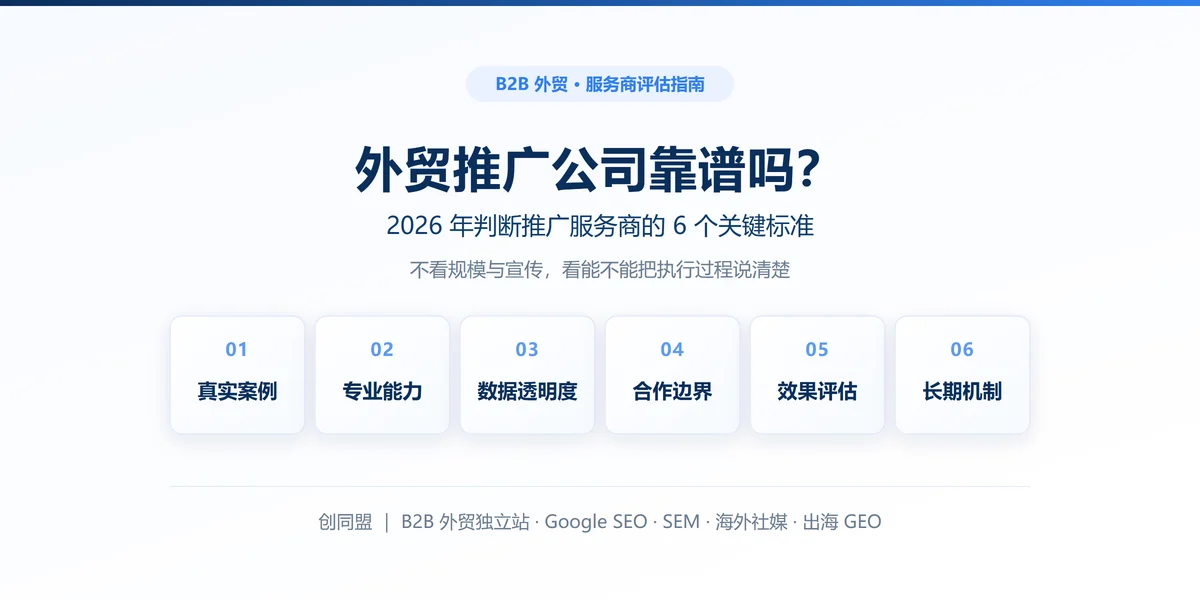
Are foreign trade promotion companies reliable? Six key criteria for businesses to judge promotion service providers in 2026.
2026-10-26
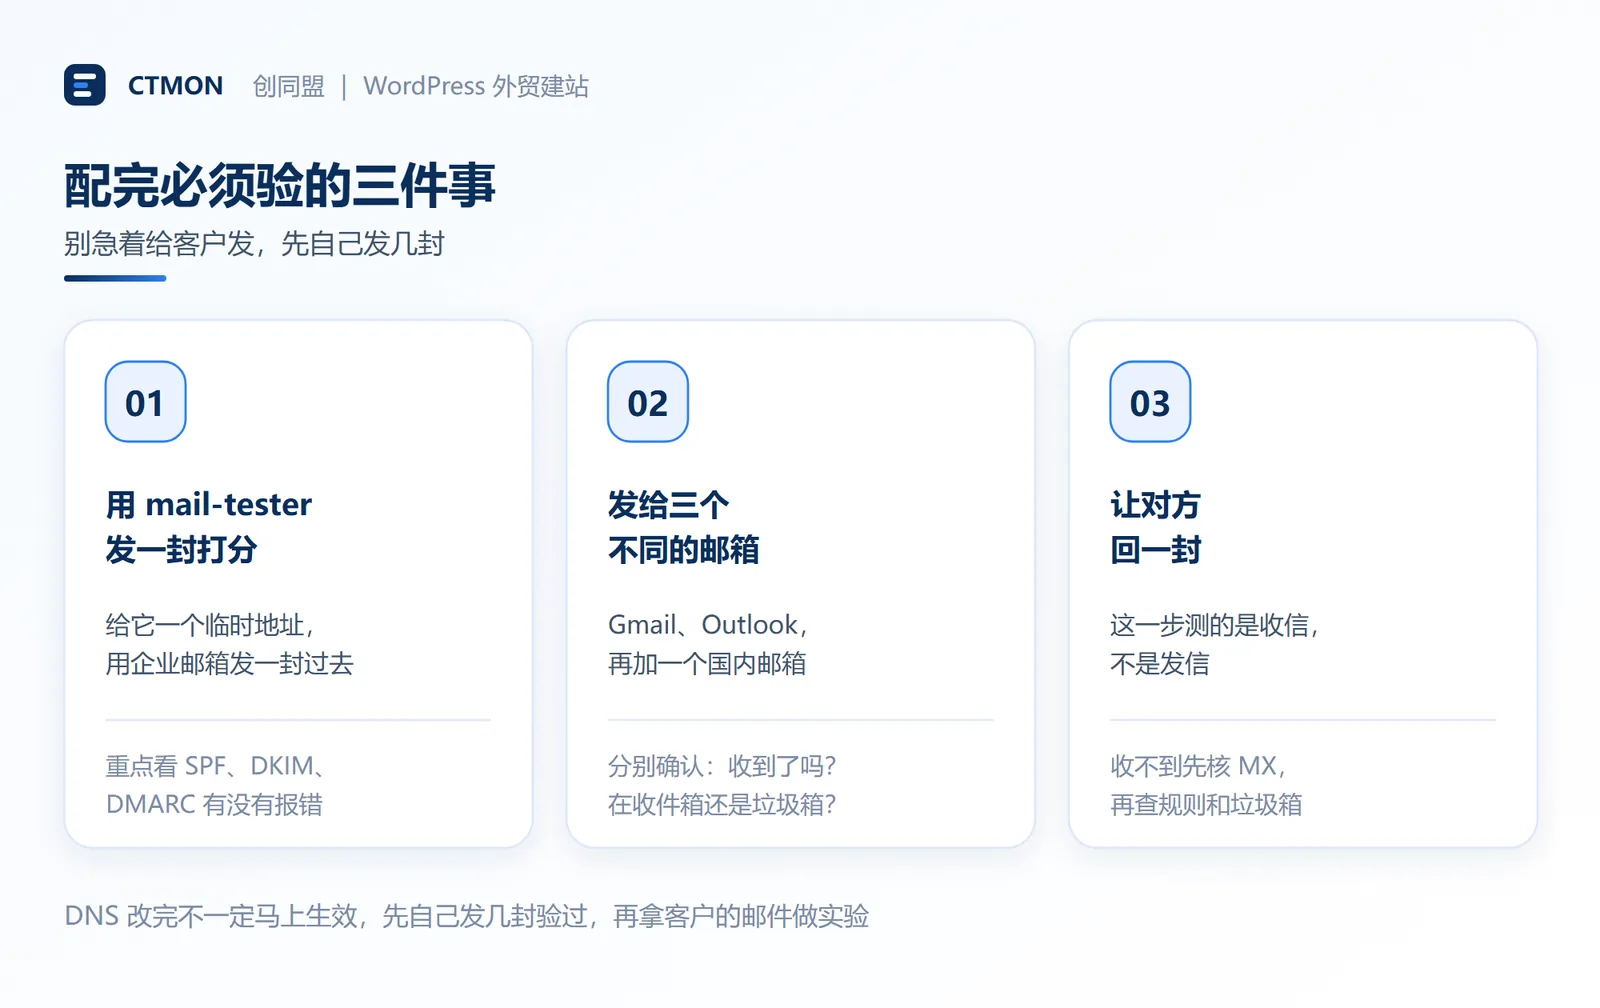
How do I set up an email account for export businesses? How can I configure it to avoid it ending up in the spam/junk mail folder?
2026-10-26
Related Articles
How to configure WPForms contact forms: Which should I choose, WPForms or Contact Form 7?
How to write a WordPress product page that will make overseas buyers want to send inquiries?
How to fix WordPress form emails not sending: Practical WP Mail SMTP configuration
How do I set up an email account for export businesses? How can I configure it to avoid it ending up in the spam/junk mail folder?
Recommended essential WordPress plugins: 6 types of plugins commonly used for B2B export websites

